安装yaf扩展
1
| brew install php70-yaf --build-from-source
|
根据自己的php版本下载对应的扩展,如你的版本是php5.6那么就通过brew下载php56-yaf
在终端运行php -m,能看到yaf,说明扩展安装成功(或打印phpinfo())
1 2
| ➜ ~ php -m | grep yaf yaf
|
建立demo项目
用yaf的代码生成器cg快速生成一个demo project
1 2 3 4 5 6
| 下载https://github.com/laruence/yaf后解压 cd tools cd cg php yaf_cg test cd output cp -R test ~/test
|
设置虚拟主机
- 修改server_name域名,root项目根目录
1 2 3 4 5 6 7 8 9 10 11 12 13 14 15 16 17 18 19 20 21 22 23 24 25
| server { listen 80; server_name yaf.com; location / { root ~/test; index index.html index.htm index.php; try_files $uri $uri/ /index.php; } error_page 404 /404.html; error_page 500 502 503 504 /50x.html; location = /50x.html { root ~/test; } location ~ \.php { root ~/test; fastcgi_pass 127.0.0.1:9000; fastcgi_index index.php; fastcgi_param SCRIPT_FILENAME $document_root$fastcgi_script_name; include fastcgi_params; } }
|
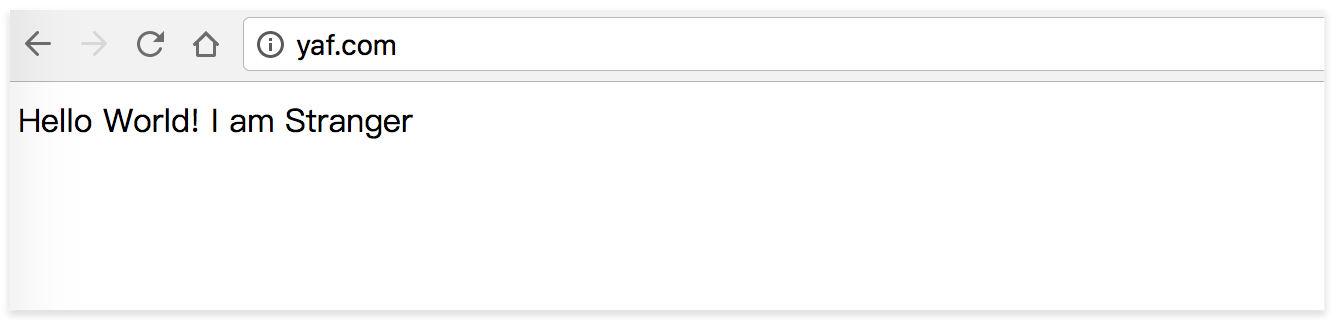
这样就可以通过访问域名yaf.com访问到demo项目了
测试
访问yaf.com,能看到Hello World! I am Stranger,说明安装配置成功